The amount of information that we have on Rugby, is much
larger than on most other locations in Warwickshire. We have therefore provided
several pages, each on a theme, to help you to understand the town's major
railway infrastructure. Perhaps this is only right as it reflects the
importance of Rugby to the railways in Warwickshire, and indeed elsewhere.
Peter Elliott, in his unpublished manuscript entitled 'The Development of
Transport in Rugby', writes with the benefit of hindsight Robert
Stephenson, the engineer of the London & Birminhgam Railway, said in a
letter to Samuel Smiles in 1857:- 'Few people have any notion how completely
the whole system of our railways has been influenced by the bend northwards at
Rugby. ..... Scarcely a single line to the north of that point would have, been
made as it now is, but for the determination I then formed as to the direction
in which the railway should be constructed'.
Peter comments. 'The key word in the previous paragraph
is probably "hindsight", but nevertheless we can be certain that the decision
on the northerly sweep round town had implications on the whole railway network
of the country, including even the Great Western Railway - possibly even also
the choice of gauge of major railways throughout the world as we shall see. For
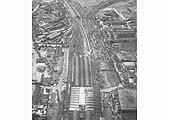
a while Rugby Junction was the most important junction in the country. But now
we must study the origins and construction of the various railways that
comprised the junction'.
Peter has given us permission to provide via the History of
Rugby Station page, a
PDF of Peter's
manuscript. Copyright still remains invested with Peter Elliott and readers
are respectfully requested to credit Peter's work when quoted or used as source
material.
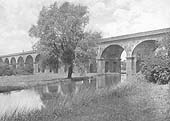
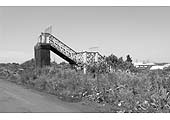
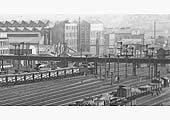
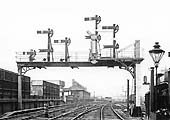
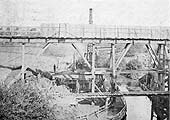
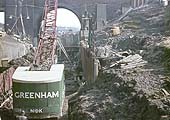
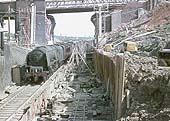
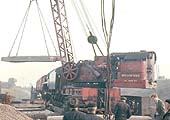
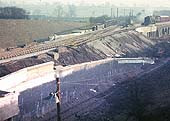
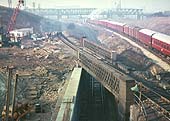
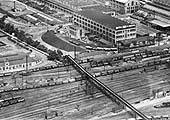
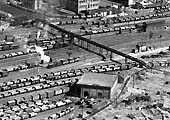
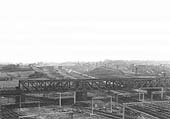
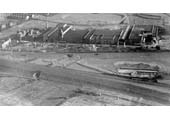
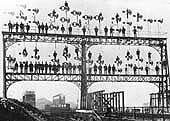
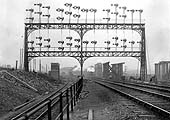
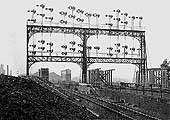
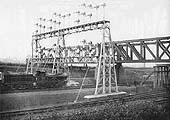
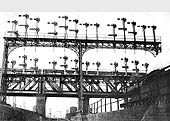
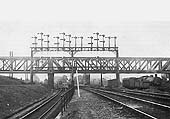
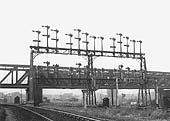
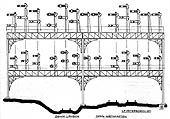
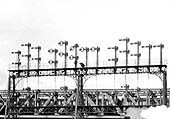
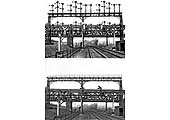
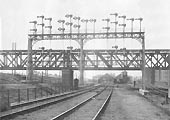
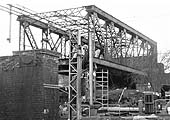
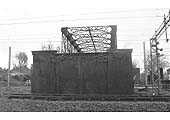
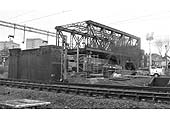
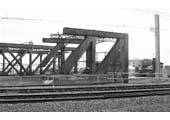
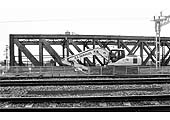
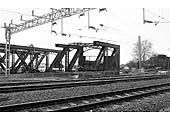
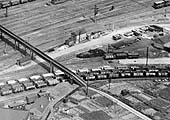
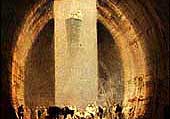
On 25th December a large section of what remained of the
landmark GCR lattice bridge at Rugby (centre and south spans), commonly
referred to as the 'Birdcage', was lifted. The remaining sections were lifted
in the following days.