|
|
 |
|
|
London North Western
Railway:
Midland
Railway:
Stratford
Midland Junction Railway:
|
|
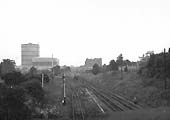
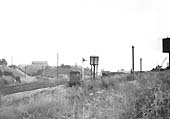
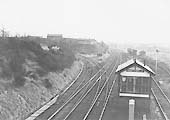
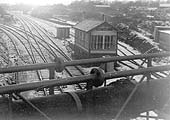
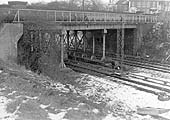
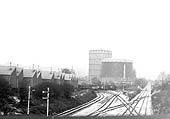
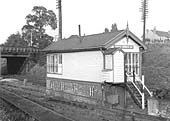
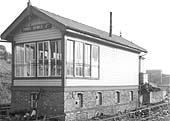
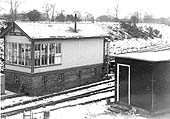
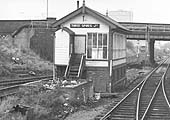
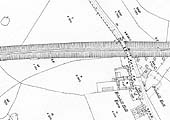
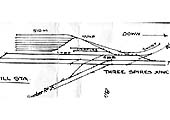
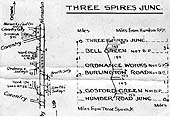
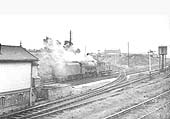
Three Spires Junction
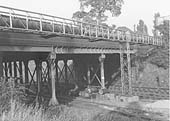
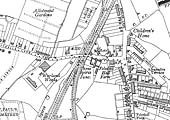
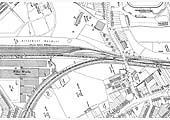
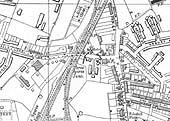
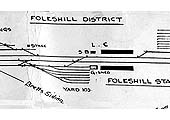
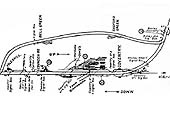
Three Spires Junction was situated between Foleshill station
and Longford & Exhall station on the Coventry to Nuneaton line. The Signal
Cabin opened on 28th June 1914 with the Coventry Loop line opening on 10th
August 1914. The Loop line (also known as the 'Avoiding' line) was built so
goods trains, principally coal trains from the North Warwickshire Coalfields,
could avoid running through Coventry station as the Loop line rejoined the
former London & Birmingham Railway line at Pinley (later renamed Humber
Road) Junction. It was also the location where sidings were located to handle
the coal traffic originating from the coal fields located between Coventry
& Bedworth as well as outward bound traffic from Coventry Colliery.
Miscellaneous
Ordnance Survey Maps, Track Plans and Schematic
Drawings
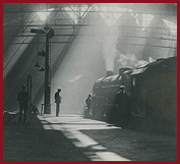
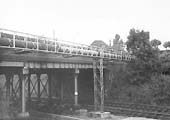
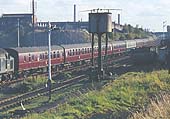
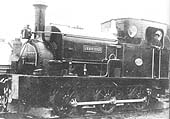
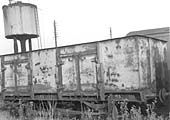
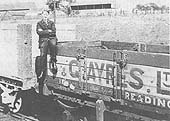
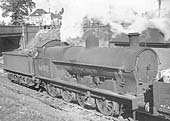
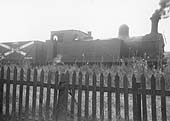
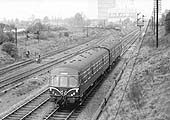
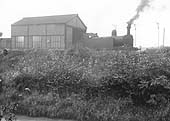
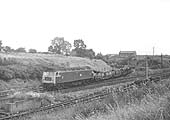
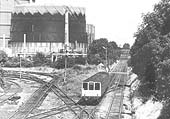
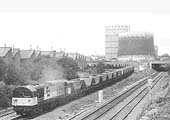
Trains seen at or near Three Spires Junction
|
|
|