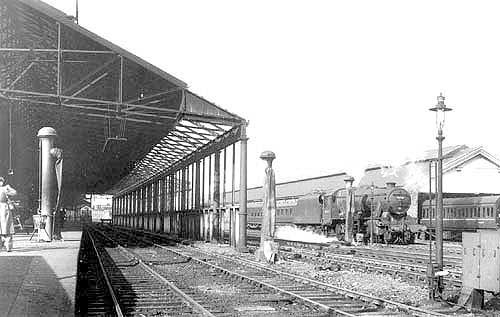
This view of the up platform shows the train shed covering both the platform line and the avoiding line (accessed by the scissor crossing). In addition there at four other lines passing outside the trainshed. The signal box controlling the scissor crossing can be seen in the distance. The number of water columns used at Rugby was large because they catered for both the station, goods yard and shed. In this view there are at least three strategically placed at locations where trains would be held at signals. Andy Taylor, Operations Manager South, West Coast Railways writes, "This photo shows the up platform line (Up Slow), and siding 6 under the roof. The Up fast line (commonly known as the Up Through) is to the right of the roof supporting columns. Siding 6 was known as the 'Up Pilot', and in later years usually held a Black 5 which was for shunting duties, and to assist trains that were in trouble. There was a similar siding, the Down Pilot (Siding 4) at the North end of the Down platform. Another Black 5 would be kept there for shunting and standby duties."
|
||||||