|
|
 |
|
|
GWR Route: Alcester to Hatton Junction
GWR Route: North Warwickshire Line
Bearley Junction: gwrbj444a
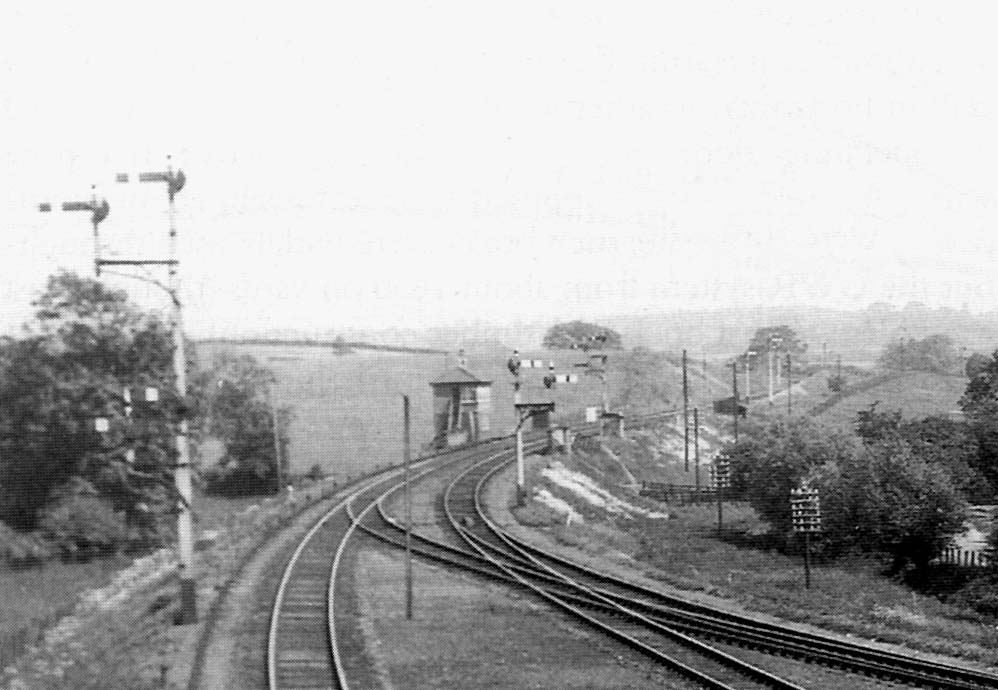 |
Close up of image 'gwrbj444' showing Bearley North Junction
signal box circa 1934 with the Bearley North Curve seen in the distance. The
Bearley North Signal Box was a GW Type27c timber design containing 35 levers
which opened in 1907 to control these two junctions [Bearley North Curve and
Alcester Line]. It finally closed in January 1961 following Alcester Junction
taken out of use in August 1960 and Bearley North Curve Junction taken out of
use November 1960). I have the distance from the Alcester junction to the
Signal Box as 7 chains. In this view thirteen signals can be seen mounted on
six posts. The nearest post on the left has four arms thought to be made up of
two pairs, each pair being made of one top and one bottom arm. On the up route
a further signal with four arms can be seen although all four are employed for
different purposes. Finally in the distance a single signal arm can be seen. On
the down line there are two single signal posts and one post with two arms, one
controlling access to the Alcester branch the other the line to Stratford upon
Avon. The reason for two arms was due to sighting issues for drivers because
the lower arms were obscured by the aqueduct. Express locomotives travelled at
speed and drivers needed to see the signal as soon as possible to maintain
speed otherwise they would have to slow and accelerate at each signal. However
the ability to see tall signals could be effected by fog or inclement weather
and there a 'repeater' signal placed lower down the post would resolve the
sighting problem, albeit with the train travelling at a slower pace.
Robert Ferris
 back back
|
|
|