|
|
 |
|
|
GWR Route: Banbury to Wolverhampton
Acocks Green & South Yardley Station: gwrag2461
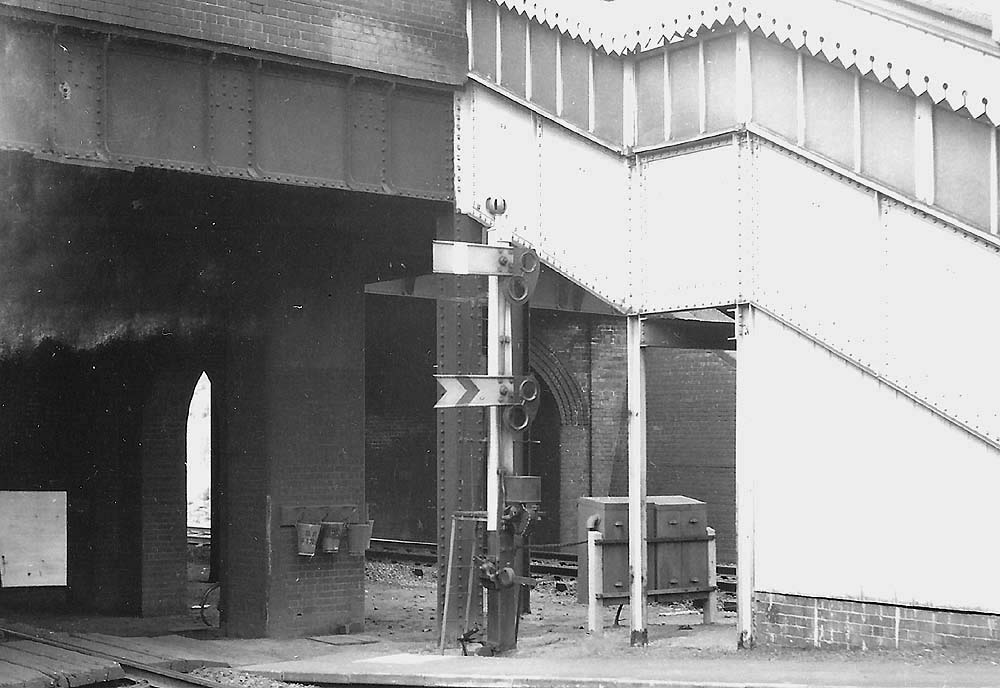
On the short wooden signal post at the Birmingham end of the
down main platform was the centre pivoted Down Main Starting Signal controlled
by signal wire from Acocks Green Signal Box (lever 30) some 232 yards away and
below this the Down Main Distant Signal electrically controlled from Tyseley
South Signal Box (lever 127) some 1380 yards away in the other direction. Lever
127 also electrically controlled a second distant signal on the approach to
Acocks Green Station, some 2005 yards from the Tyseley South Signal Box. The
reason for the duplication of the distant signals on the down main was because
not all trains needed to stop at Acocks Green station. The two signals on this
post were both centre pivoted because of the space restriction between the
loading gauge and the staircase down from the main booking office adjacent to
Sherbourne Road bridge.
Acocks Green Signal Box was located just beyond the other
end of the relief platform ramp and because of the buildings on the main island
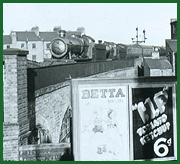
platform there was no clear view of the up main line (In this photograph the up
main line can be seen in the background passing through the other arch of the
road bridge). This line was therefore provided with track circuit supervision
(circuit 2T) to tell the Signalman when a train, wagon or engine was on the
track. When track circuit supervision was present a diamond symbol was attached
to the signal posts. The date of the photograph is circa 1962 and the bullhead
rail has been replaced with flat bottomed track fixed to the sleepers with
elastic spikes through a 'BR1' inclined baseplate. Flat bottomed track was
introduced as standard on main lines after nationalisation and the elastic
spike fixings were used until the advent of continuous welded rail (CWR), when
fittings with lower creep resistance were required. Notice the three fire
buckets on the bridge pier.
Robert Ferris
 back back
|
|
|